It's my month for the We Bee Learning Bee! Hooray! Originally, my month was scheduled for December, but one of the women in our group is unable to do June so I'm taking it on.
I'm asking the ladies in my hive to help me make Levi a bed quilt. You might remember the Growth Chart I made him (which I'm still not done embroidering the numbers on yet) using Moda's Punctuation line. Soon after "completing" it, I purchased the ABC panel from the same line to use for a quilt for his bed.

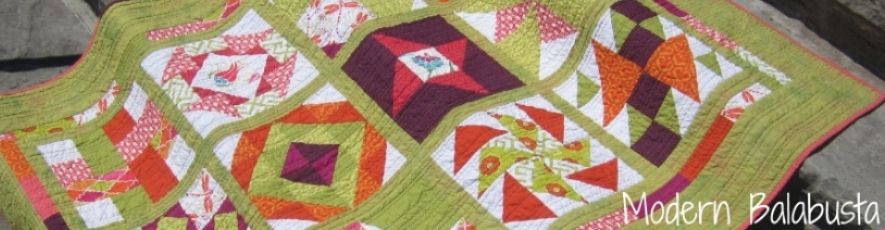
The panel will be sliced and diced to make one side of the quilt. The other side is going to be zig-zag stripes. I'm assigning each woman in my hive a colour, three will get red, four blue and four yellow, and asking them to make me an HST zig zag block. I've put together a quick photo tutorial to help them out. Here's what we're aiming for:

First, cut 16 squares, 4 inches by 4 inches. Eight will be black. The other eight will be in your assigned colour. It's okay if a couple of the fabrics have other colours in them, as long as the fabric "reads" red (or blue, or yellow) overall.

Next, assemble your half square triangles. There are a ton of tutorials online explaining various ways to make HSTs. I like to draw guidelines on my fabric - a line on the diagonal and one a quarter inch away on either side like so:

Actually, I'm lying. I use this handy dandy Onmigrid
ruler made especially for HSTs. But if I didn't have one I'd totally draw three
lines.

Okay, so next I sew just a hair to the right of each of the
lines I've drawn because I read somewhere that this creates more accurate HSTs.
See?

I chain piece all sixteen HSTs, then snip and chain the
second line. Once both lines are sewn, cut down the centre diagonal and press.
Since we're using black, be aware of which way you are pressing. What I mean
is, if the other fabric has a lot of white, press towards the black so the seam
doesn't show through.
Okay, now all your HSTs are done. Just kidding! You need to
trim them to 3.5 inch squares. I hate this part. Sorry hive mates! But it's a
really important step when you're using 16 HSTs in a quilt block.
Okay, now you are done are ready to start assembling the
block. One thing to keep in mind. This block looks best when you pay attention
to your seam allowance and use an accurate scant 1/4 inch seam.
Choose your layout. Then start sewing...


OOOOPS! See
what I did there? So annoying! Pick, pick, pick... TA-DA! All
done!
I'm not being picky, but I thought that you would have sewed a hairs breath away from the other side of the line? That is, the RH side of the far LH line in your picture.That would make your seam allowance slightly smaller, and allow for the fold taking up a teeny bit more fabric. When your HST is finished, how does it measure up?
ReplyDeleteSuz, I think we're saying the same thing! Yes, you are right.
DeleteGreat block can't wait to try it!
ReplyDelete